Getting started with private locations
About Private Locations
You must have the Owner or Admin role on your Checkly account to create private locations.
Here are the requirements/questions before you get started:
- Container runtime (we test using Docker, but other OCI-compliant runtimes should work)
- Outbound internet access to https://agent.checklyhq.com (proxy configuration is supported)
- Access to your internal API- or browser-based application
- A Checkly account that you will use for testing Private Locations
Here’s how Private Locations work:
A Private Location is similar to our existing public locations, but you have control over it. A Private Location can be in your own segregated network, on-premises or cloud-based. You need one or more Checkly Agents installed in that location/network with access to your applications.
Checkly checks are configured and scheduled in the Checkly cloud-based web UI as usual, but selecting a Private Location runs the check on the agent(s) in your infrastructure. Agents are stateless and ephemeral. As long as you have at least one operational Checkly Agent, checks will run in your Private Location. Adding more agents will distribute the load and improve resilience automatically.
Configuring a Private Location:
-
Log in to your Checkly account.
-
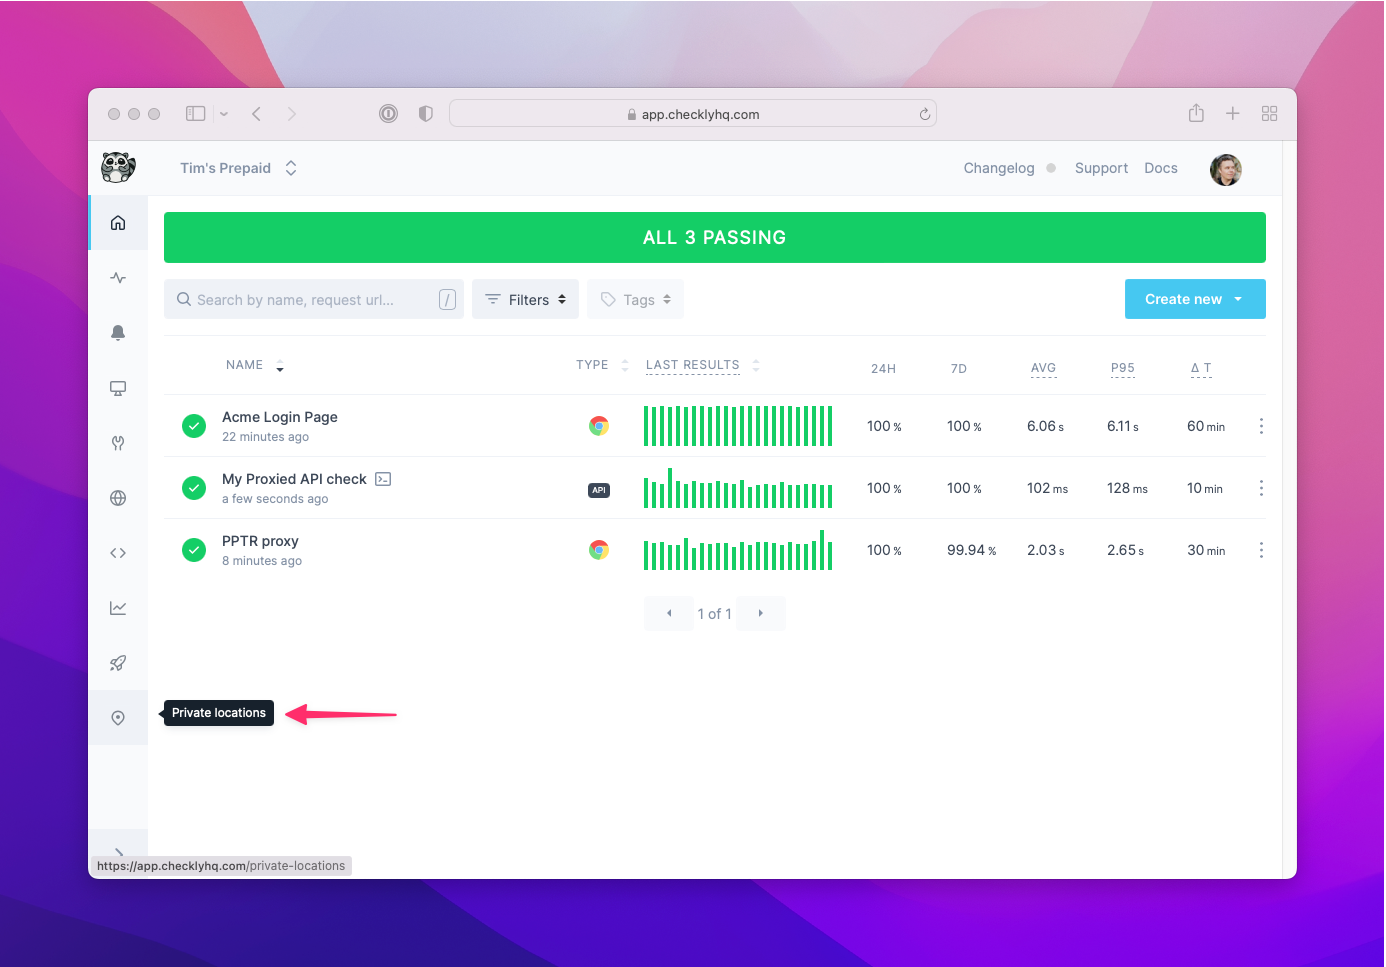
Navigate to the Private Locations page.
-
Click the New Private Location button.
-
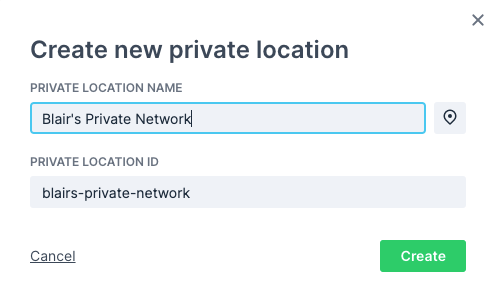
Provide a name and icon for the new private location. The ID is automatically generated ID for API access.
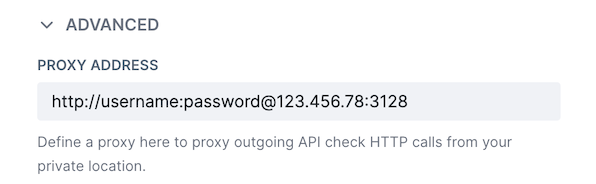
- Optionally, provide a URL for an HTTP proxy for outgoing check traffic. Learn more about using HTTP proxies
-
Click Create.
-
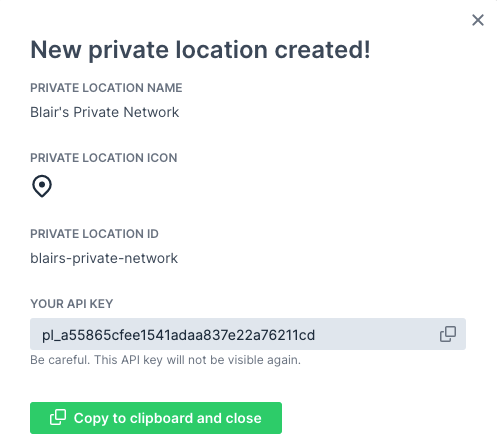
You will receive an API key for the new location. Copy this key and keep it safe as you will need it to add agents to the location, and you won’t be able to see it again.
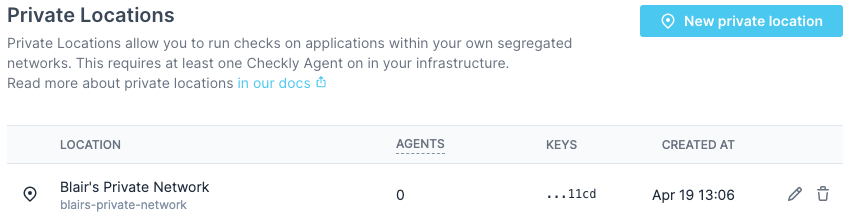
- You now see your new Private Location in the list with no Checkly Agents installed.
-
Follow the detailed instructions in the installing Checkly agent guide to install one or more Checkly agents for the private location.
-
Refresh the private locations page in the Checkly app and you will see a count of the number of running agents.

- Create a new API or Browser check as you normally would in Checkly. You will now see your new private location in the list of available locations. Select it and deselect any other locations.

-
Finish configuring your check and save it.
-
Your results are now visible on the check results page.

Known limitations
- Private Locations and the Checkly Agent currently do not support CI/CD triggers such as Command Line Triggers or the Vercel and GitHub integration.
- The Checkly Agent currently only supports x86/AMD64 architecture and not ARM64. This means Apple Mac M1 systems are not currently supported.
![]() You can contribute to this documentation by editing this page on Github
You can contribute to this documentation by editing this page on Github